
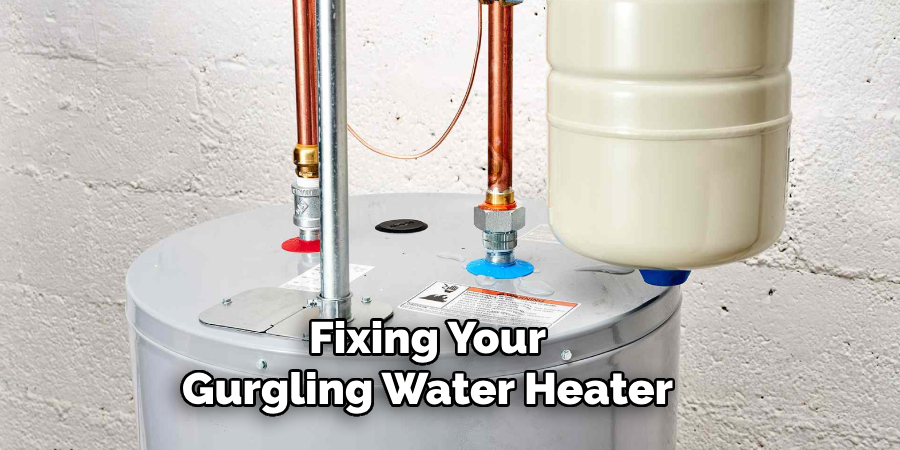
Are you tired of hearing a gurgling noise coming from your water heater? Not only can it be annoying, but it could also indicate an underlying issue with your system.
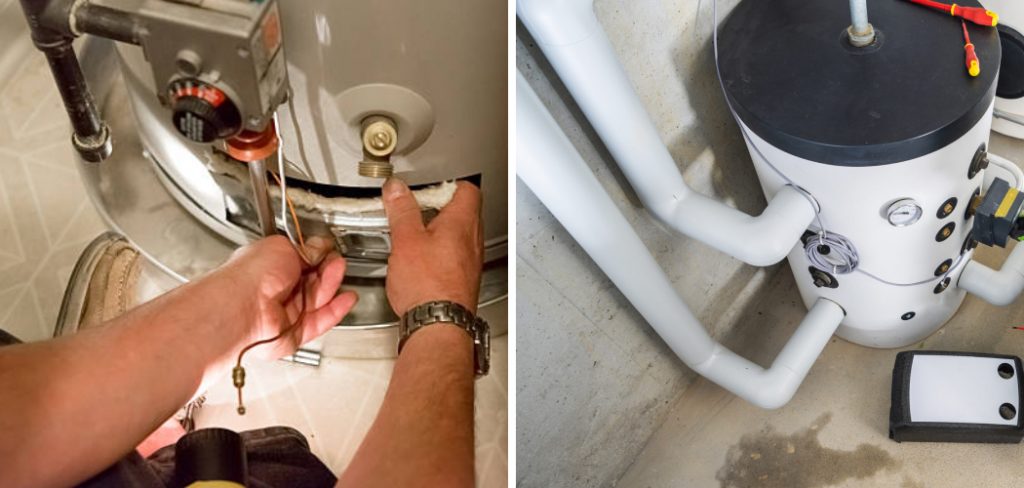
A gurgling water heater can indicate sediment buildup, trapped air bubbles, or other issues affecting its performance and efficiency. While the noise can be concerning, fixing the problem is often straightforward and can prevent further damage to your water heater. This guide will walk you through the common causes of a gurgling water heater and provide step-by-step instructions on how to fix gurgling water heater, ensuring your water heater runs smoothly and efficiently.
Regular maintenance and prompt attention to unusual sounds can extend the lifespan of your appliance and save you from costly repairs.
What Are the Causes of Gurgling Water Heaters?
Several factors can contribute to a gurgling water heater, including:
- Sediment Buildup: Over time, minerals and debris can accumulate at the bottom of your water heater tank, causing gurgling noises as the water tries to flow through.
- Trapped Air Bubbles: Excess air in your system can create a bubbling or gurgling sound as hot water rises to the top of the tank.
- Low Water Pressure: Insufficient cold water flow into your tank can cause air pockets and lead to gurgling sounds.
- Faulty Heating Elements: A damaged or malfunctioning heating element can cause boiling and popping noises inside the water heater tank, resulting in gurgling sounds.
- Incorrectly Sized Water Heater: If it is too small for your household’s needs, it may have to work harder and create more noise as it struggles to keep up with demand.
It’s essential to identify the cause of the gurgling noise before attempting to fix it. This will help you determine the appropriate solution and prevent further damage to your system.
What Will You Need?
Before you begin fixing your gurgling water heater, make sure to have the following tools and materials on hand:
- A garden hose
- A screwdriver
- A bucket
- White vinegar or a commercial descaling solution
Once you have these items ready, you can fix your gurgling water heater.
8 Easy Steps on How to Fix Gurgling Water Heater
Step 1: Turn Off the Power Supply
Safety should be your top priority before performing any maintenance on your water heater. If you have an electric water heater, locate the circuit breaker panel and switch off the breaker connected to the water heater to completely cut off the electricity supply. For gas water heaters, find the gas shut-off valve near the unit and turn it off to stop the gas flow. Ensuring the power supply is turned off will protect you from potential electrical shocks or gas leaks during the repair process. Take a moment to double-check that the power or gas is fully deactivated before proceeding to the next step.
Step 2: Turn Off the Water Supply
Locate the cold water supply valve connected to your water heater. This valve is usually situated at the top of the unit. Turn the valve clockwise to shut off the water supply completely. Doing this will prevent water from flowing into the tank while you perform the necessary maintenance. Once the water supply is off, open a nearby hot water faucet to relieve any pressure in the system and drain any remaining hot water from the pipes. This step ensures a safer and cleaner repair process.
Step 3: Drain the Water Heater Tank
Attach a garden hose to the drain valve near the water heater’s bottom to begin draining the tank. Ensure the other end of the hose is placed in a safe area where hot water can be discharged, such as a floor drain or outside. Carefully open the

drain valve to allow the water to flow out. Be cautious, as the water may still be hot. Draining the tank will enable you to remove any sediment buildup and create a safe working environment for the repair. Once the tank is empty, close the drain valve and detach the hose.
Step 4: Remove and Inspect the Heating Elements
Once the tank is drained and the water heater is safe to handle, locate the access panels covering the heating elements. Use a screwdriver to remove the panels, insulation, and plastic covers, if applicable. Carefully disconnect the wires from the heating elements, making note of their arrangement for reassembly later. Use a wrench to unscrew and remove the heating elements from the tank. Inspect the components for signs of damage, corrosion, or any sediment buildup. If the elements are faulty or worn, replace them with new ones compatible with your water heater model.
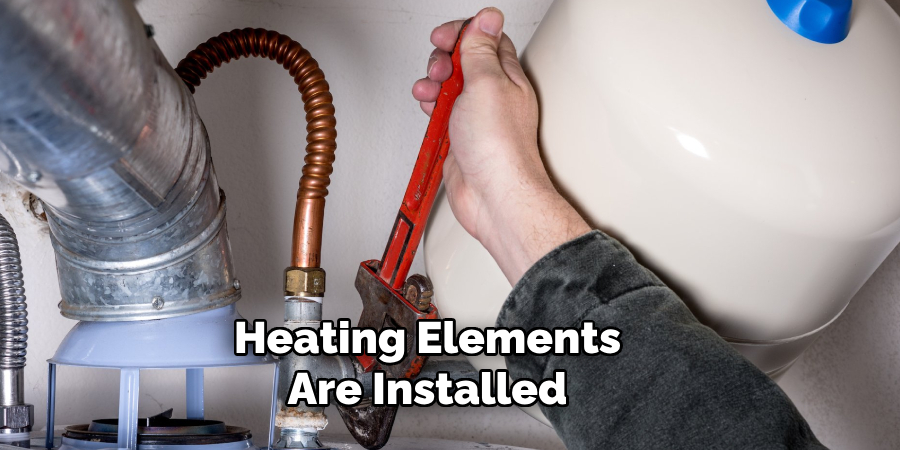
Step 5: Install New Heating Elements
Take the new heating elements and ensure they match the specifications of your water heater. Begin by inserting each component into the designated openings on the tank. Use a wrench to tighten them securely, being careful not to overtighten and risk damaging the threads or tank. Reconnect the wires to the new elements, following the arrangement noted during the disassembly. Ensure all connections are tight and secure to avoid any electrical issues later. Replace the plastic covers, insulation, and access panels, securing them with a screwdriver.
Step 6: Refill the Tank
Once the new heating elements are installed, it’s time to refill the tank. Close the drain valve at the bottom of the tank, ensuring it is tightly sealed. Open a nearby hot water faucet to allow air to escape as the tank fills. Then, turn on the cold
water supply to the tank and allow it to fill. Monitor the process to ensure no leaks around the newly installed heating elements or other connections. Once the tank is full and water flows steadily from the open faucet, close the faucet.
Step 7: Restore Power to the Water Heater
After ensuring the tank is full and there are no leaks, restore power to the water heater. Turn the power back on for an electric water heater at the circuit breaker. If you have a gas water heater, follow the manufacturer’s instructions to relight the pilot light or ignite the burner. Wait for the water to heat up, which may take some time, depending on the tank size and the heating element’s capacity. Once the water is fully heated, test the hot water at a faucet to ensure the system is functioning correctly. This completes replacing the heating elements and restoring your water heater to optimal working conditions.
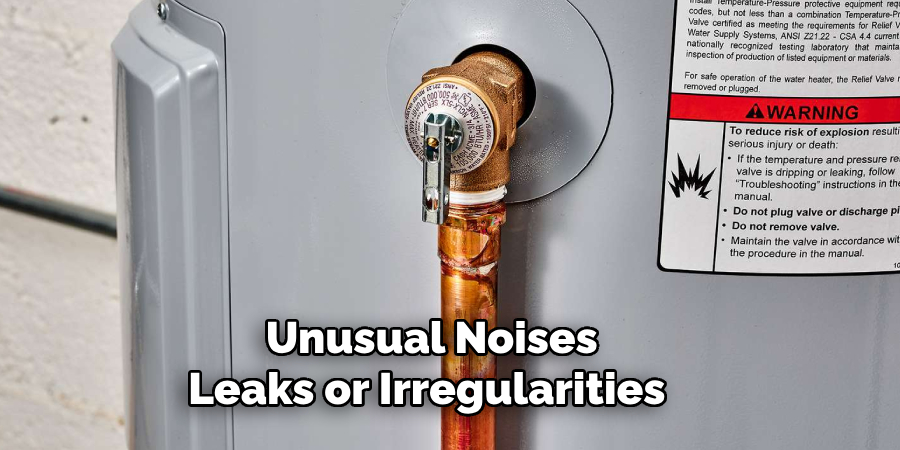
Step 8: Perform a Final Inspection
After the water has fully heated, a final water heater inspection will be performed. Check for any unusual noises, leaks, or irregularities in the system. Ensure that all connections are secure and no signs of water dripping or pooling around the tank. Confirm that the thermostat settings are adjusted to the desired temperature for your household needs. Regular maintenance and careful monitoring can extend the lifespan of your water heater and prevent future issues. The replacement procedure is officially complete once you are confident that everything is operating smoothly.
By following these eight easy steps, you can fix your gurgling water heater and restore its efficiency without needing professional assistance.
5 Things You Should Avoid
- Ignoring Regular Maintenance: Neglecting routine maintenance of your water heater can lead to sediment buildup, which is often the cause of gurgling sounds. Always perform regular checks and flush the tank as recommended by the manufacturer.
- Using Improper Tools: Attempting to fix a gurgling water heater with the wrong tools can worsen the problem or cause damage to the unit. Ensure you use proper equipment suitable for water heater maintenance.
- Turning Off Power Incorrectly: Working on your water heater without adequately turning off its power supply—whether gas or electric—can be dangerous. Always ensure the unit is entirely powered down before attempting any fixes.
- Ignoring the Manual: Skipping the user manual or manufacturer instructions can result in improper maintenance procedures that may void your warranty or further damage the heater. Always consult the relevant documentation.
- Not Seeking Professional Help When Needed: Attempting to handle complex repairs without technical expertise can result in costly mistakes. If the issue persists or seems beyond your knowledge, it’s best to contact a licensed plumber or professional.
When Should You Change Your Water Heater’s Heating Elements?
- If your water heater produces lukewarm or cold water despite adjusting the thermostat and checking for other potential issues, it may be time to replace the heating elements.
- If there is visible damage or corrosion on the heating elements during routine maintenance inspections.
- If you hear rumbling or gurgling noises from your water heater, it could indicate sediment buildup affecting the heating element’s efficiency.
Regularly inspecting and maintaining your water heater can help prevent issues with the heating elements and extend its lifespan. However, if you notice any of these signs, replacing the heating elements may be necessary to ensure your unit continues to function correctly.
Conclusion
To address a gurgling water heater, the first step is to inspect the tank for sediment buildup, which is often the primary cause.
Start by turning off the power supply or gas to the water heater and draining the tank to flush out the sediment. Using a cleaning solution or water softener can help prevent further buildup. After cleaning, inspect the heating elements for signs of damage or wear, as sediment can impact their efficiency. Replace any faulty elements as needed. Lastly, refill the tank, restore power, and test the unit to ensure proper function.
Hopefully, the article on how to fix gurgling water heater has provided you with the necessary steps to solve this common issue. Happy fixing!
About the Author
Adrian Green is a passionate woodworking enthusiast who has dedicated his life to the craft of woodworking. From his early days working alongside his father in the family woodworking shop, Adrian has honed his skills and developed a deep love for creating beautiful, functional pieces with his hands. As the voice behind The Woodenify Blog, he shares his knowledge, tips, and inspiration with fellow woodworkers of all skill levels, helping them build confidence in their abilities while learning new techniques.
Professional Focus
- Specializes in DIY woodworking projects, from furniture making to home décor.
- Provides step-by-step guides, tips, and practical tutorials for woodworkers at any skill level.
- Focused on empowering readers with confidence and knowledge through easy-to-follow instructions and hands-on techniques.
- Passionate about building a community where makers can share, learn, and grow together in the world of woodworking.
Education History
University of Craft and Design – Bachelor of Fine Arts (BFA) in Woodworking and Furniture Design
Woodworking Apprenticeships – Gained extensive hands-on experience through various workshops and mentorships with seasoned craftsmen, refining carpentry and furniture-making skills.
Expertise
- DIY woodworking, carpentry, furniture making, and home décor projects.
- Creating clear, accessible tutorials and guides for beginner to advanced woodworkers.
- Helping readers experience the satisfaction and fulfillment of turning raw materials into stunning finished products.