
Learning how to install detachable shower head is a simple yet impactful home improvement task that brings a host of benefits. From increased versatility during showers to the convenience of flexible spray settings and improved water efficiency, this project is both functional and rewarding. Whether you want a better cleaning solution for your bathroom, an easier way to help children or pets bathe, or a practical upgrade for an aging family member, a detachable shower head can swiftly elevate your daily routine.
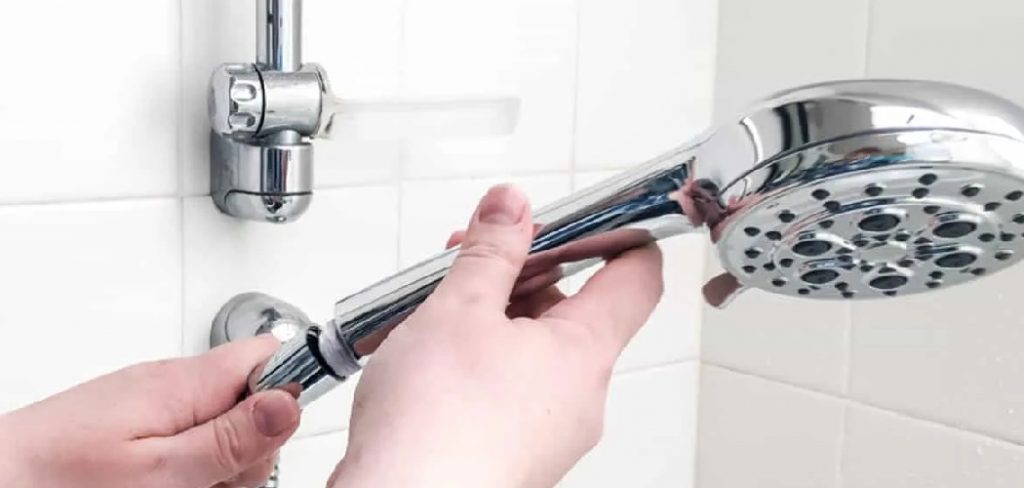
With no need for professional plumbing skills, most homeowners or renters can install a detachable shower head in under an hour using basic tools. This comprehensive guide will lead you step-by-step through the installation process. By following these instructions closely, you can confidently avoid pitfalls like leaks or loose fittings and enjoy a newfound sense of accomplishment the next time you turn on your shower. Let’s get started and discover how this small change can make a big difference in your home.
Understanding the Benefits of a Detachable Shower Head
Why Choose a Detachable Shower Head?
If you’ve ever found yourself wishing for greater control over your shower’s water stream or easier rinsing after cleaning, a detachable shower head is the upgrade you need. Unlike traditional fixed heads, these models allow you to detach the handle and direct water flow where you need it most. This makes tasks like rinsing shampoo, cleaning the tub, or washing pets much more manageable.
Their adjustable spray settings are also ideal for tailoring your shower experience, catering to everything from invigorating pulses to gentle mists. Seniors, children, and individuals with mobility challenges particularly benefit from the flexibility, as it eliminates awkward movements required by stationary heads.
Types of Detachable Shower Heads
There are various detachable shower heads on the market, each suited to different preferences and bathroom setups:
- Handheld Models with Hoses: The classic choice, these feature a flexible hose that lets you move the spray freely.
- Dual Shower Heads: These systems combine a fixed overhead head with a detachable handheld unit, perfect for families or shared bathrooms.
- Eco-Friendly Versions: Designed to conserve water without sacrificing pressure, these models use advanced aeration or flow-regulation technology.
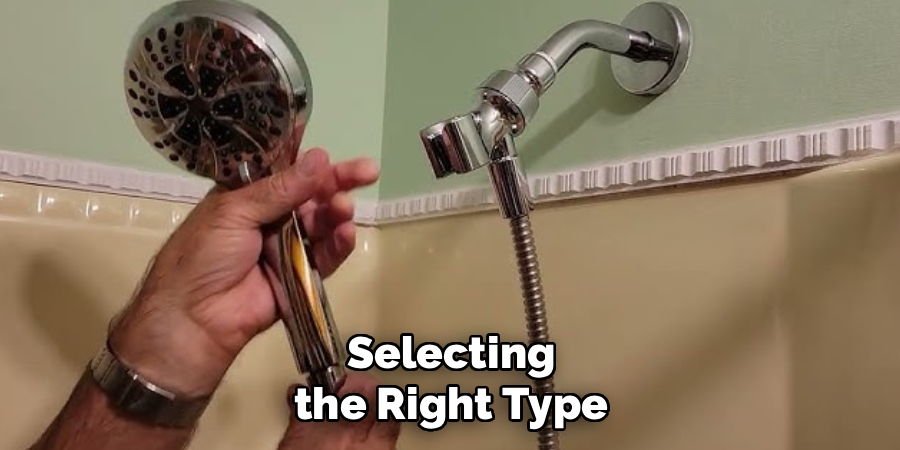
Selecting the right type depends on your needs, your plumbing setup, and your commitment to water conservation.
Tools and Materials You’ll Need
Before you begin, it’s vital to assemble all necessary tools and supplies to ensure a smooth installation. Having everything on hand will prevent mid-project delays and reduce the risk of mistakes.
Essential Items
- Detachable shower head kit (including handheld head, hose, and mounting hardware)
- Plumber’s tape (often called Teflon tape)
- Adjustable wrench
- Soft cleaning cloth
Optional Tools
- Rubber grip pad or non-slip jar opener (for stubborn or delicate fittings)
- Mild household cleaner (for removing residue)
- Small brush (for cleaning out stubborn grime on threads)
Preparation pays off. By collecting these items ahead of time, you’ll streamline every step of the installation process and minimize the chances of leaks or loose fittings later on.
Preparing the Shower Area
Cleaning the Faucet Arm
Start by inspecting the shower arm—the horizontal pipe coming out of your wall or ceiling. Over time, the threads on this pipe can accumulate rust, old plumber’s tape, soap scum, or mineral deposits, all of which can hinder a secure, watertight attachment. Use a dry or damp cloth to wipe the threads clean. For stubborn debris, employ a small brush or a mild cleaning solution.
Inspecting the Existing Fixture
Take a close look at your existing shower head and the pipe itself. Are there visible cracks, corrosion, or bent threads? If the shower arm is damaged, it may be best to replace it before continuing. A sound fixture will ensure your new detachable shower head installs correctly and will not develop leaks due to pre-existing defects. Once you’ve confirmed the shower arm is clean and in good condition, you’re ready for the next step.
Removing the Existing Shower Head
Step-by-Step Removal Guide
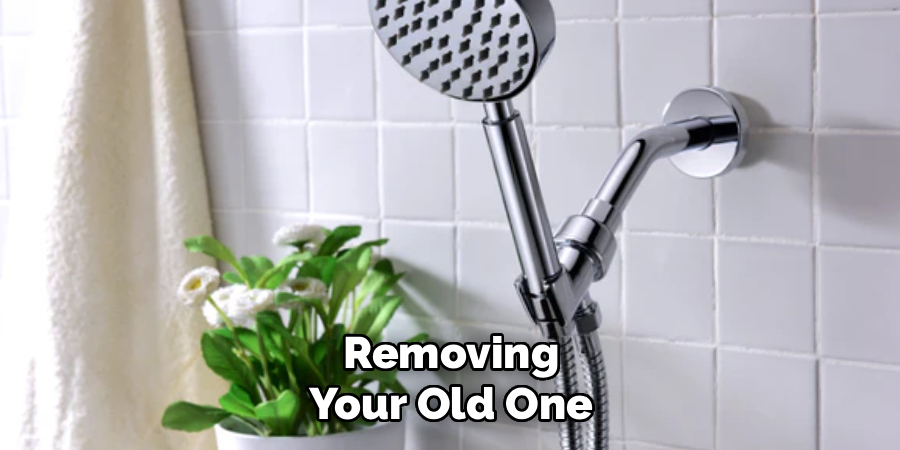
The first physical task in learning how to install a detachable shower head is removing your old one. Follow these instructions for painless removal:
- Grip the shower head firmly with one hand and the shower arm with the other.
- If the fixture is tight or stuck, use an adjustable wrench to gently loosen the base of the shower head by turning it counterclockwise. Place a soft cloth between the wrench and fixture to avoid scratching the finish.
- If the head resists, apply a little more force, but do so carefully to prevent bending or stripping the arm.
Cleaning Residue
Once the old shower head is off, you’ll likely see remnants of old Teflon tape, dried sealant, or mineral buildup on the shower arm threads. Wipe these away with a damp cloth. For stubborn buildup, use a cleaning agent and brush to ensure all residue is cleared—this is vital for forming a proper seal with your new unit.
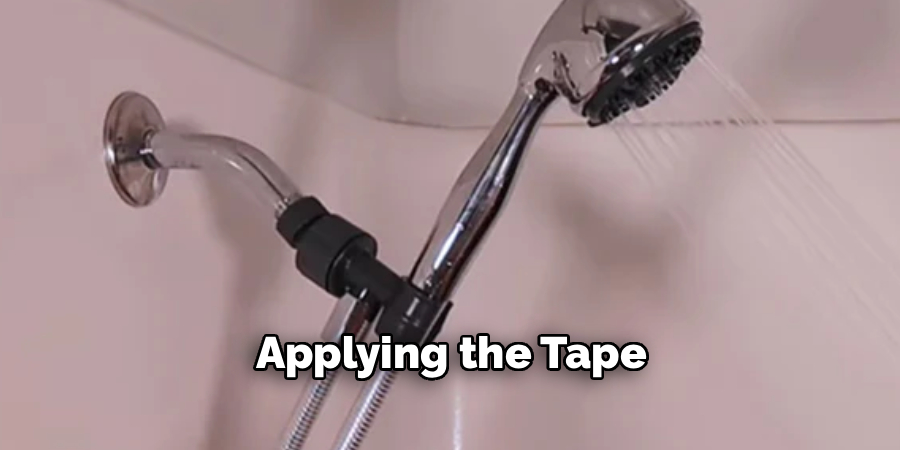
Applying Plumber’s Tape
Why Plumber’s Tape is Crucial
Plumber’s tape forms a watertight seal between threaded metal connections, preventing leaks. It’s a critical step that shouldn’t be skipped when you install a detachable shower head, as leaks can cause water waste, wall damage, or costly repairs.
How to Apply Tape
- Hold the end of the plumber’s tape against the beginning of the shower arm threads.
- Keeping the tape flat and snug, wrap it clockwise around the threads three to five times, overlapping each wrap slightly.
- Smooth the tape down with your fingers to create an even, gap-free seal.
Applying the tape in the same direction as you’ll screw on the new fitting ensures it doesn’t unravel as you install the shower head. This small step makes a significant impact on the longevity and reliability of your installation.
How to Install Detachable Shower Head: Shower Head Attaching Process
Aligning and Screwing on the Base
With the threads prepped, take the base connector from your detachable shower head kit. Align it with the shower arm and carefully screw it on by hand, turning clockwise. Make sure not to cross-thread—if you feel resistance or see the connector is askew, back up and realign. Hand-tighten until snug, as over-tightening can damage threads or plastic components.
Connecting the Hose
Next, attach one end of the hose to the base you just installed. Many hoses have rubber washers pre-inserted at each end—be sure these are present to ensure a good seal. Tighten the connection by hand, then give it a nudge with your wrench or rubber grip pad if it’s slightly loose, taking care not to overdo it.
Installing the Handheld Unit
With the hose connected, screw the remaining end to your handheld shower head unit. Again, make sure the washer is in place. Carefully tighten this connection. Finally, place the handheld shower head into its wall or slide mount according to the kit instructions. Adjust the holder for the most convenient height and angle.
Thoroughness at each step ensures you complete the process safely and avoid future leaks.
Testing for Leaks and Adjusting Fittings
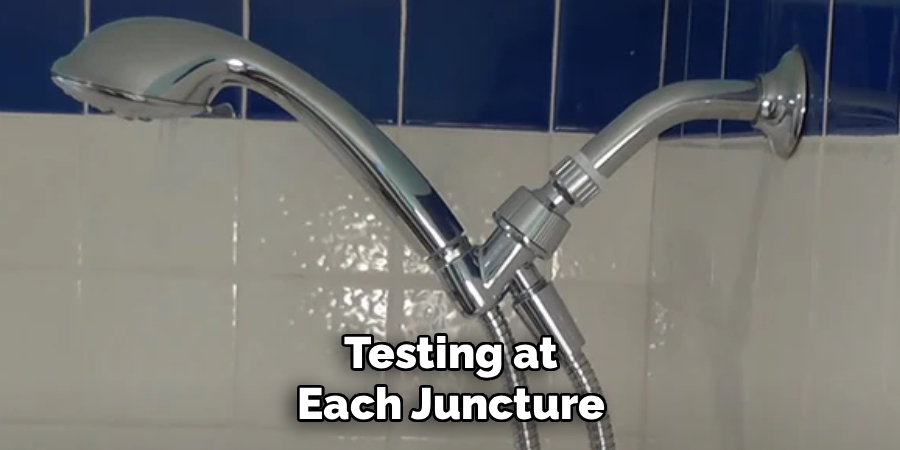
Running the Water Test
With everything installed, it’s time to ensure your work holds up under pressure. Turn on the shower gradually and observe all connections—the base, each hose end, and the head itself. Look for any slow drips, spraying water, or moisture forming around the joints.
Tightening Connections
If you detect leaks, turn off the water and gently but firmly tighten the affected connection by hand. If necessary, use a wrench or rubber pad, but avoid heavy force, as this may strip threads or crack plastic. If leaks persist after tightening, it might indicate missing washers, misaligned fittings, or insufficient plumber’s tape. Disassemble, inspect for issues, and reapply tape or washers as needed.
Testing at each juncture ensures your new detachable shower head works flawlessly before regular use.
Customizing the Detachable Shower Head
Adjusting Spray Settings
Many detachable models feature adjustable spray modes. Experiment with each setting—massage, mist, full spray, targeted rinse—until you find the one that suits your needs for various tasks, from daily cleansing to targeted cleaning.
Positioning the Mount
Proper holder positioning maximizes comfort and efficiency. Adjust the wall mount or slide rail to make the head accessible at your preferred height for regular use. Some mounts allow for rotation or angling, letting you direct the spray even when the head is docked.
Taking time to customize your setup assures you get the most out of learning how to install a detachable shower head, tailoring the experience to your unique routine and household needs.
Maintenance Tips for Longevity
Cleaning the Nozzles
Detach the shower head periodically to clean the nozzles and prevent clogging from mineral buildup, especially in areas with hard water. Soak the head in a mixture of vinegar and water, then scrub gently with a soft brush.
Keeping the Hose Clear
Disconnect and rinse the hose every few months to remove buildup inside it, ensuring steady and unhindered water flow.
Preserving the Finish
Wipe down external surfaces with a mild soap solution and a soft cloth—avoid harsh abrasives or chemicals, as these can damage the head’s finish and longevity.
Regular maintenance strengthens the investment of your installation, preventing performance issues and extending the lifespan of your new fixture.
Common Troubleshooting Tips
Problems with a recently installed detachable shower head are often easy to fix at home.
Dripping Connections
A slow drip often means a loose fitting or insufficient plumber’s tape. Turn off the water, unscrew the problem area, add another wrap or two of tape, and retighten.
Uneven Water Flow
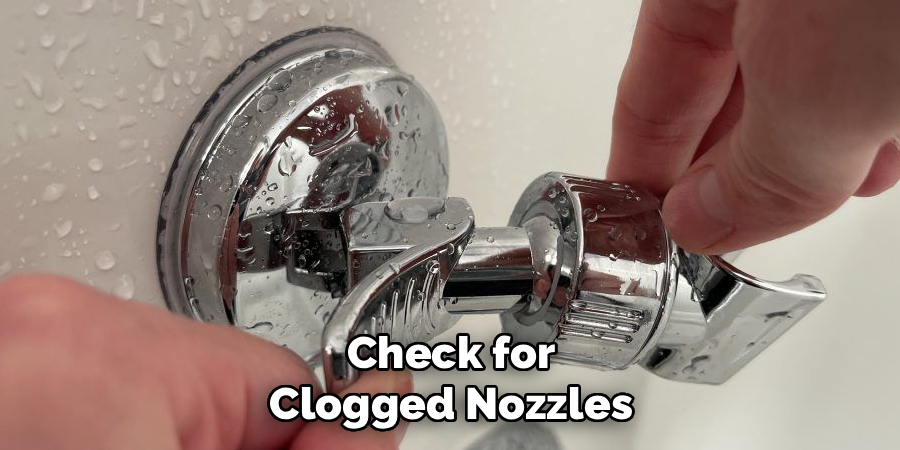
If sprays are weak or uneven, check for clogged nozzles or a kinked hose. Remove any blockages and straighten the hose for optimal performance.
Difficulty Adjusting Positions
If your mount or bracket is sticking or seems unsteady, check for loose mounting screws or misaligned parts. Tighten or realign as needed, or consult your kit’s manual for adjustment instructions.
Tackling these common issues quickly ensures your detachable shower head remains a reliable bathroom upgrade.
When to Seek Professional Help
While installing a detachable shower head is usually a manageable DIY project, certain scenarios call for expert intervention.
Damaged Threads or Persistent Leaks
If you notice stripped threads, cracks in the pipe, or leaks that persist after repeated troubleshooting, it’s wise to contact a plumber. Continuing to force damaged connections may worsen the problem—or even risk flooding or water damage.
Choosing a Reliable Professional
Look for licensed, insured professionals in your area. Get referrals or read reviews, and describe your installation issue in detail to ensure the plumber is equipped to assist.
Remember, seeking help promptly protects your home from more extensive and costly repairs later on.
Conclusion
Learning how to install detachable shower head is a truly accessible home improvement project that delivers lasting value. With just a few affordable tools and a systematic approach, you can transform your shower experience—enjoying everything from targeted cleaning power to enhanced comfort, for family members of all ages.
By following the steps outlined above—from initial preparation and cleaning to secure installation, customization, and ongoing maintenance—you minimize chances of leaks or functionality issues, ensuring confidence in your DIY capabilities. And with the main keyword, “how to install a detachable shower head,” at the core of this guide, you have a clear path to a successful upgrade.
Remember: Routine maintenance and a willingness to address common issues promptly will guarantee the longevity and enjoyment of your new shower fixture. With this project complete, relish your improved bathroom and the comfort and convenience that come with it.
About the Author
Adrian Green is a passionate woodworking enthusiast who has dedicated his life to the craft of woodworking. From his early days working alongside his father in the family woodworking shop, Adrian has honed his skills and developed a deep love for creating beautiful, functional pieces with his hands. As the voice behind The Woodenify Blog, he shares his knowledge, tips, and inspiration with fellow woodworkers of all skill levels, helping them build confidence in their abilities while learning new techniques.
Professional Focus
- Specializes in DIY woodworking projects, from furniture making to home décor.
- Provides step-by-step guides, tips, and practical tutorials for woodworkers at any skill level.
- Focused on empowering readers with confidence and knowledge through easy-to-follow instructions and hands-on techniques.
- Passionate about building a community where makers can share, learn, and grow together in the world of woodworking.
Education History
University of Craft and Design – Bachelor of Fine Arts (BFA) in Woodworking and Furniture Design
Woodworking Apprenticeships – Gained extensive hands-on experience through various workshops and mentorships with seasoned craftsmen, refining carpentry and furniture-making skills.
Expertise
- DIY woodworking, carpentry, furniture making, and home décor projects.
- Creating clear, accessible tutorials and guides for beginner to advanced woodworkers.
- Helping readers experience the satisfaction and fulfillment of turning raw materials into stunning finished products.