
Are you experiencing a decrease in hot water supply, strange noises coming from your tankless water heater, or an increase in energy bills? If so, it may be time to descale your tankless water heater.
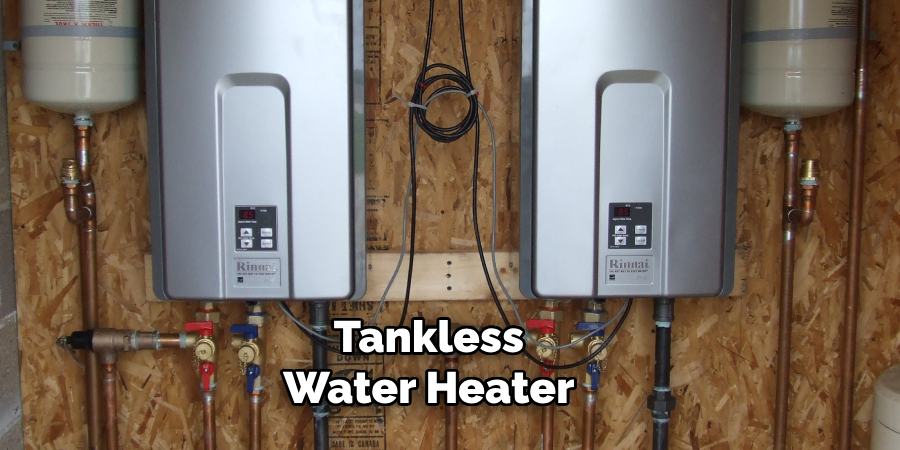
Tankless water heaters are popular for their efficiency and on-demand hot water supply. However, over time, mineral buildup, particularly from hard water, can accumulate inside the unit, reducing its efficiency and potentially causing damage. Descaling your tankless water heater is an essential maintenance that ensures optimal performance, extends its lifespan, and prevents costly repairs.
This guide on how to descale tankless water heater will walk you through the steps necessary to safely and effectively describe your water heater, keeping it running smoothly for years to come. Let’s get started!
What Are the Benefits of Descaling Your Tankless Water Heater?
As mentioned, regular descaling is crucial for maintaining the efficiency and longevity of your tankless water heater. Here are some specific benefits to keep in mind:
- Improved Efficiency: Mineral deposits can obstruct water flow and make it harder for the unit to heat the water, decreasing efficiency. Descaling removes these deposits and allows your water heater to operate at its optimal level.
- Reduced Energy Bills: When your tankless water heater works harder due to mineral buildup, it will use more energy, leading to higher energy bills. Descaling helps restore its efficiency, reducing energy consumption and saving you money on utility bills.
- Extended Lifespan: Regular descaling can significantly extend the lifespan of your tankless water heater. By preventing mineral buildup, you can avoid costly repairs or even early unit replacement.
- Cleaner Water Supply: Descaling not only helps your water heater but also improves the quality of your hot water supply. Mineral deposits can affect the taste and smell of your water, making it less appealing for consumption.
These are just some of the benefits of descaling your tankless water heater. By making it a regular part of your maintenance routine, you can ensure that your unit continues to provide hot water efficiently and effectively.
What Will You Need?
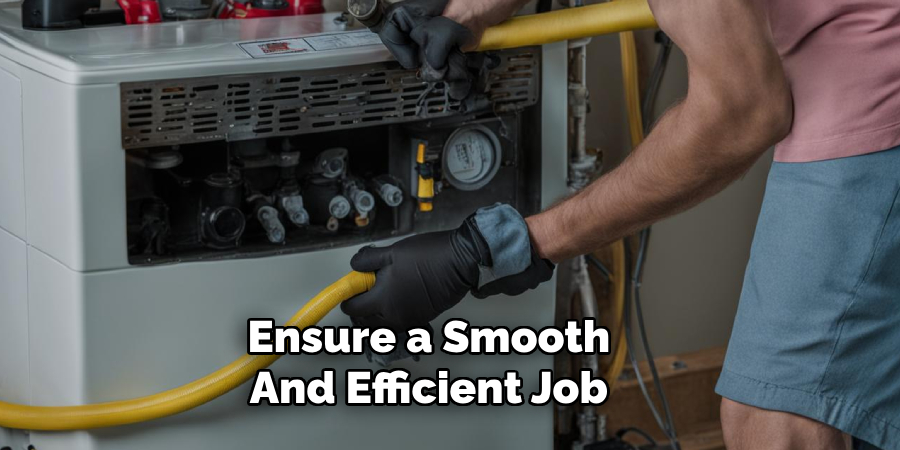
Before you begin the descaling process, gather all necessary materials to ensure a smooth and efficient job. Here’s what you’ll need:
- Descaling Solution: White vinegar is the most common and effective solution for descaling tankless water heaters. You can also purchase commercial descaling solutions specifically designed for tankless water heaters.
- Hoses: You will need two hoses to connect to the cold-water inlet and another to the hot water outlet.
- Bucket: To collect the used solution during the descaling process.
- Pump Kit: If your tankless water heater does not have built-in pumps, you may need a pump kit to circulate the descaling solution through the unit.
- Gloves and Protective Eyewear: Descaling solutions can harm your skin and eyes, so it’s crucial to wear protective gear when handling them.
Once you have all the necessary materials, you can proceed with descaling your tankless water heater.
8 Easy Steps on How to Descale Tankless Water Heater
Step 1: Turn Off the Power and Water Supply
Before beginning the descaling process, ensuring your safety and protecting the tankless water heater is essential. Start by disconnecting the power supply to the unit. If it is powered by electricity, switch off the circuit breaker, and if it is gas-powered, close the gas valve. This step prevents accidental activation during the procedure. Following this, locate the water shut-off valves for your tankless water heater and turn them off completely. This will stop water from flowing into or out of the unit, allowing you to access and work on the water heater safely. Double-check that no power or water supply is active before moving on to the next step.
Step 2: Attach the Hoses to the Service Ports
Locate the service ports on your tankless water heater, which are usually marked for hot and cold water. Attach a hose to each port, ensuring they are securely connected to prevent leaks during the descaling process. The other ends of the
hoses should lead to a descaling pump and a bucket to circulate the cleaning solution. This setup will allow the descaling solution to flow through the water heater, effectively removing mineral buildup. Make sure the connections are tight and aligned adequately before proceeding.
Step 3: Prepare and Add the Descaling Solution
Begin by preparing the descaling solution according to the manufacturer’s instructions. Most descaling solutions require dilution with water, so accurately measure the solution and water to achieve the proper concentration. Pour the prepared solution into the bucket connected to the descaling pump. Once the bucket is filled with the solution, double-check that the hoses are securely attached to the service ports and that the descaling pump is ready for operation.
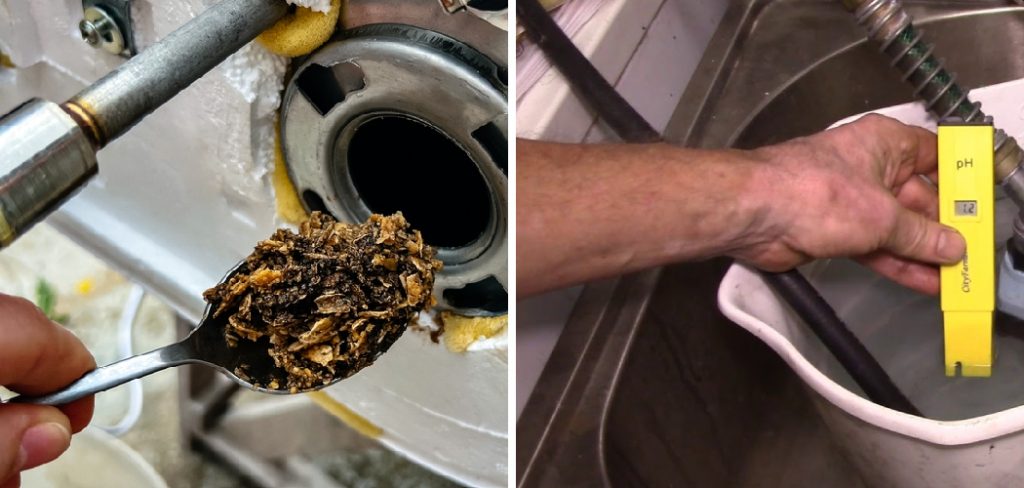
Turn on the descaling pump, allowing the solution to circulate through the water heater for the recommended duration, usually 45 minutes to an hour. This circulation process is crucial for thoroughly removing mineral deposits and scale buildup within the water heater’s internal components. During this time, observe the system to ensure there are no leaks and that the solution is flowing smoothly. If you notice cloudiness or discoloration in the solution returning to the bucket, the descaling process effectively breaks down the mineral buildup.
Step 4: Rinse and Reassemble the System
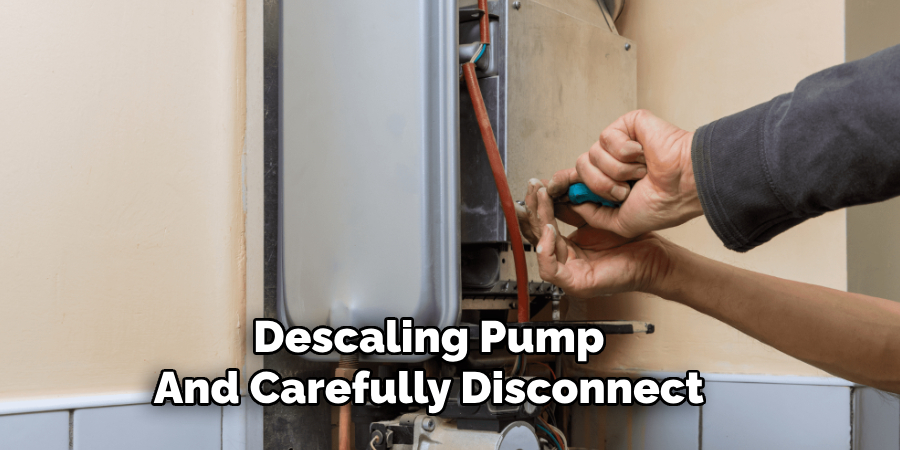
After the descaling process is complete, turn off the descaling pump and carefully disconnect the hoses from the service ports. Drain the remaining solution from the water heater and thoroughly rinse the system by flushing it with clean water.
This step is vital to remove any residual descaling solution from the system. Continue flushing until the water runs clear, ensuring no chemical residue is left inside. Once flushing is complete, reconnect the water heater to its original configuration by reattaching the service port caps and ensuring all connections are secure. Finally, the water and power supply to the heater must be restored, and proper operation must be checked to confirm the system is functioning efficiently.
Step 5: Perform a Final System Check
After reassembling the system and restoring the water and power supply, performing a final system check is essential. Turn on the hot water faucet closest to the water heater and allow the water to flow for a few minutes. Observe the water for clarity and ensure it is at the desired temperature. Listen for any unusual noises from the water heater that could indicate an issue. If everything appears normal, the descaling process is complete, and your water heater should now operate more efficiently.
Step 6: Schedule Regular Maintenance
It is essential to establish a regular maintenance schedule to ensure the water heater continues to operate efficiently and prevent future buildup of scale. Depending on the hardness of your water and the manufacturer’s recommendations, consider descaling the system every 6 to 12 months. Additionally, inspect the unit periodically for any signs of wear, leaks, or unusual performance issues. Proper maintenance not only prolongs your water heater’s life but also helps maintain optimal energy efficiency and a consistent hot water supply.
Step 7: Check the Anode Rod
The anode rod is a crucial component of your water heater that helps prevent corrosion by attracting corrosive elements into the water. Over time, the anode rod can degrade and lose its effectiveness, leaving your water heater susceptible to rust and damage. To check the anode rod, turn off the power supply and water to the heater, then carefully remove the rod according to the manufacturer’s instructions. Inspect it for significant wear or damage—if more than 75% of the rod is corroded, replace it with a new one. Regularly checking and replacing the anode rod can significantly extend the lifespan of your water heater and ensure reliable performance.
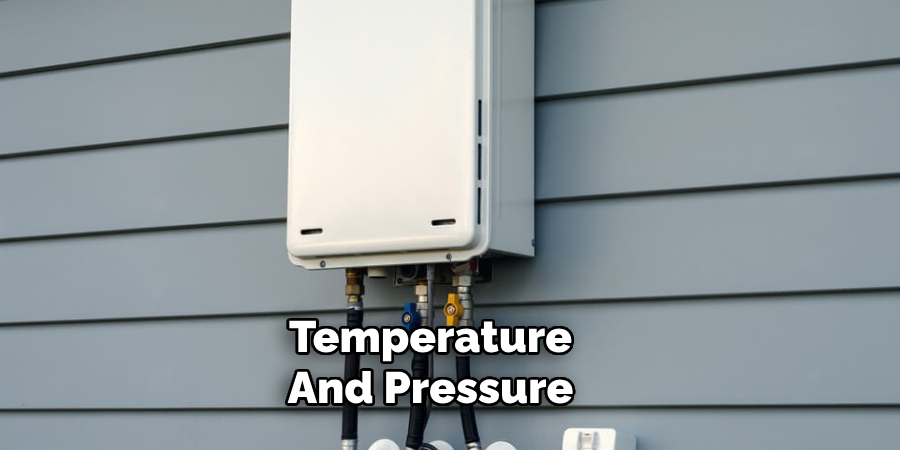
Step 8: Test the Temperature and Pressure Relief Valve
The temperature and pressure (T&P) relief valve is a critical safety feature of your water heater, designed to release excess pressure or temperature to prevent potential hazards. To test the T&P relief valve, place a bucket underneath the discharge pipe connected to the valve. Carefully lift the valve’s lever to open it; you should hear a rush of air or see water flow out. This indicates the valve is functioning correctly. If nothing happens or the valve leaks after testing, it may need to be replaced. Regularly testing the T&P relief valve ensures that it operates as intended, safeguarding against dangerous pressure buildups in your water heater.
By following these steps and establishing a regular maintenance schedule, you can effectively descale your tankless water heater and keep it running efficiently for years.
Conclusion
How to descale tankless water heater is an essential maintenance task that helps to maintain its efficiency and prolong its lifespan.
You can effectively remove mineral buildup and ensure optimal performance by following the outlined steps, such as turning off the power, preparing a descaling solution, and cleaning filters. Regular descaling prevents damage caused by hard water deposits, improves water flow, and safeguards your heater from potential malfunctions.
Incorporating this process into your maintenance routine will save you money on repairs and energy bills while providing consistent hot water for your household. So, schedule regular descaling for your tankless water heater and enjoy its benefits for years to come. Happy descaling!
About the Author
Adrian Green is a passionate woodworking enthusiast who has dedicated his life to the craft of woodworking. From his early days working alongside his father in the family woodworking shop, Adrian has honed his skills and developed a deep love for creating beautiful, functional pieces with his hands. As the voice behind The Woodenify Blog, he shares his knowledge, tips, and inspiration with fellow woodworkers of all skill levels, helping them build confidence in their abilities while learning new techniques.
Professional Focus
- Specializes in DIY woodworking projects, from furniture making to home décor.
- Provides step-by-step guides, tips, and practical tutorials for woodworkers at any skill level.
- Focused on empowering readers with confidence and knowledge through easy-to-follow instructions and hands-on techniques.
- Passionate about building a community where makers can share, learn, and grow together in the world of woodworking.
Education History
University of Craft and Design – Bachelor of Fine Arts (BFA) in Woodworking and Furniture Design
Woodworking Apprenticeships – Gained extensive hands-on experience through various workshops and mentorships with seasoned craftsmen, refining carpentry and furniture-making skills.
Expertise
- DIY woodworking, carpentry, furniture making, and home décor projects.
- Creating clear, accessible tutorials and guides for beginner to advanced woodworkers.
- Helping readers experience the satisfaction and fulfillment of turning raw materials into stunning finished products.