
Are you ready to fire up your grill and cook some delicious food? Before you start cooking, it’s important to ensure your gas line is correctly connected to your grill. This will ensure no gas leaks and that your grill is functioning safely.
How to connect a gas line to a grill is an essential step for setting up a reliable and efficient outdoor cooking station. Whether installing a new grill or upgrading your fuel source, understanding the process can ensure both safety and functionality. Proper connection of the gas line allows for consistent fuel flow, crucial for achieving optimal grilling performance.
This guide will walk you through the necessary steps and precautions to help you securely and efficiently connect your grill to a gas line to enjoy hassle-free outdoor cooking.
What Are the Benefits of Connecting a Gas Line to Your Grill?
Connecting your grill to a gas line offers several advantages over propane tanks.
- Convenience: With a connected gas line, you won’t have to worry about running out of fuel while cooking. You can simply turn on the gas and start grilling.
- Cost-effective: While installing a gas line may have an initial cost, it is more cost-effective in the long run compared to purchasing and refilling propane tanks.
- Environmentally Friendly: Using natural gas or propane from a gas line reduces your carbon footprint and contributes to a cleaner environment.
- Consistent Heat: An adequately connected gas line will ensure consistent fuel flow, resulting in more even and precise cooking temperatures.
- Safety: Gas lines are regulated and inspected for safety, making them a reliable and secure fuel source for your grill.
What Will You Need?
Before connecting your gas line to your grill, ensure you have all the necessary tools and materials. Here are some items you will need:
- Gas Line: The main component of this process is, of course, the gas line itself. Make sure to use a high-quality, flexible gas line specifically designed for outdoor grills.
- Pipe Thread Sealant or Teflon Tape: This will help create a tight seal between the gas line and the grill’s connection point.
- Adjustable Wrenches: You will need these to tighten and secure any connections.
- Safety Glasses: Protecting your eyes when working with tools and potential gas leaks is essential.
- Gas Shut-Off Valve: This is an essential safety feature and should be installed near the connection point of your gas line. It allows you to quickly shut off the gas supply in an emergency.
Once you have all these materials, you can start connecting your gas line to your grill.
10 Easy Steps on How to Connect a Gas Line to a Grill
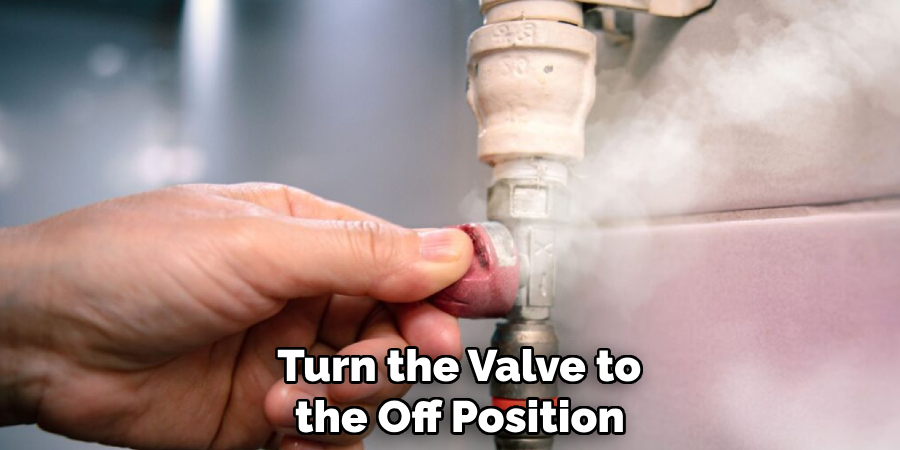
Step 1. Turn Off the Gas Supply:
Before starting any work, ensure the gas supply to your home or outdoor area is completely turned off. Locate the main gas shut-off valve, typically near your primary gas meter or pipeline. Turn the valve to the “off” position, which is usually perpendicular to the gas line. This step is crucial to prevent gas from flowing while you work, reducing the risk of leaks or accidents. Double-check that no appliances, such as stoves or heaters, are running on gas while you perform this task. Safety should always be your top priority when dealing with gas connections.
Step 2. Gather Your Tools and Materials:
Before moving forward, collect all the tools and materials you’ll need for the task. This typically includes an adjustable wrench, pipe thread sealant or gas-rated tape, a gas connector hose, and fittings appropriate for your specific grill model. Having everything ready will streamline the process and help ensure a secure connection. Ensure that any tools or materials you use are designed for gas connections to avoid safety risks. Lay out your tools in an organized spot near your work area for easy access during installation.
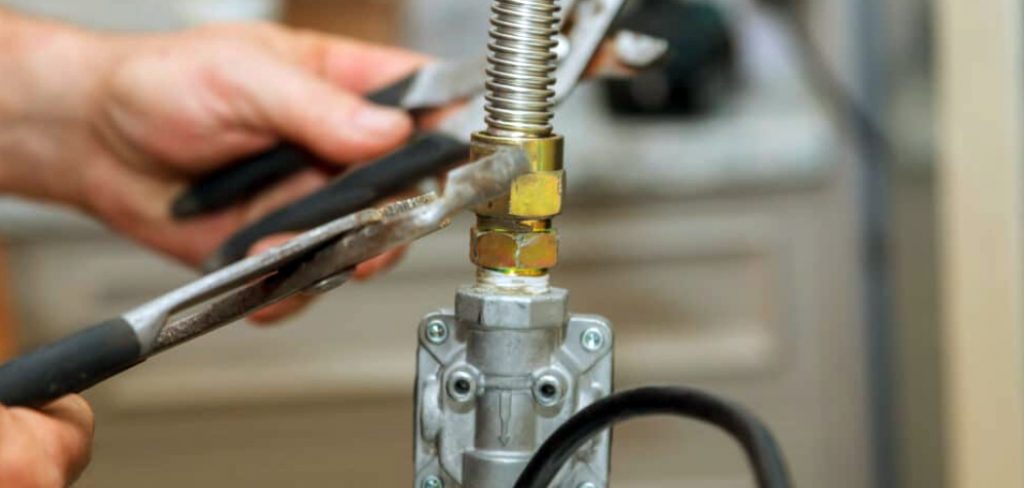
Step 3. Connect the Gas Line:
Begin by attaching the gas connector hose to your grill. Ensure the fitting is appropriately threaded to avoid cross-threading, which could lead to leaks. Use an adjustable wrench to secure the connection tightly, but avoid over-tightening, which can damage the threads. Next, connect the other end of the hose to the gas shutoff valve or regulator. Apply pipe thread sealant or gas-rated tape to the threads as needed to ensure a tight, leak-resistant seal. Once both ends are connected, check that the hose is not kinked or under excessive tension, which might compromise the connection. This step is critical for ensuring a safe and effective gas supply to your grill.
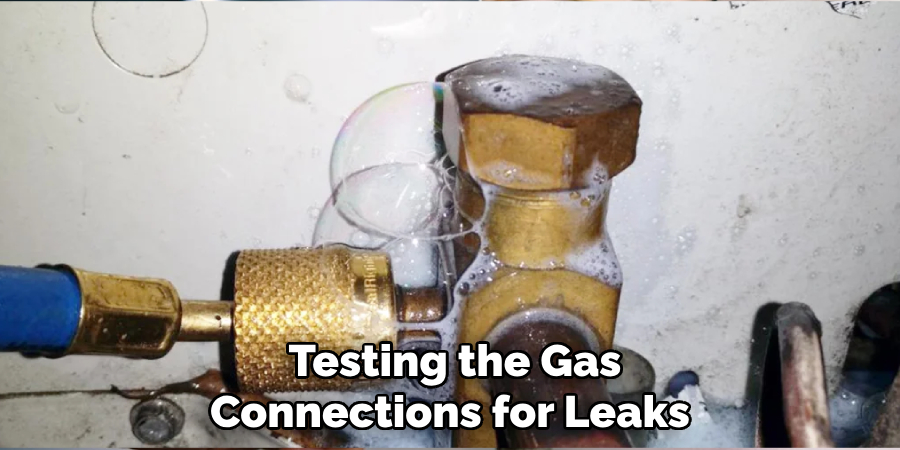
Step 4. Test for Leaks:
Before using the grill, testing the gas connections for leaks is essential. Start by turning on the gas supply at the shutoff valve or tank. Mix a solution of equal parts water and dish soap, then apply it generously to all connections using a brush or spray bottle.
Observe the connections closely for any bubbles that indicate a gas leak. If you detect a leak, immediately shut off the gas supply, re-tighten the connections, or reapply thread sealant as needed. Repeat the test until no bubbles are present. Never ignite the grill until you are sure there are no leaks for safety.
Step 5. Ignite the Grill and Preheat:
You can safely ignite the grill once you have confirmed no gas leaks. Follow the manufacturer’s instructions for lighting your specific model. Typically, this involves turning on the gas burners and pressing the ignition button. Once the grill is lit, close the lid and allow it to preheat for 10-15 minutes. Preheating ensures that the cooking grates reach the proper temperature, helping to prevent food from sticking and ensuring even cooking.
Step 6. Clean the Cooking Grates:
Before you begin cooking, take a moment to clean the cooking grates. Use a grill brush or scraper to remove any residue or debris from previous use. Cleaning the grates while hot is more manageable and ensures that your food is not contaminated with old grease or charred particles. Maintaining clean grates improves the flavor of your food and extends the lifespan of your grill.
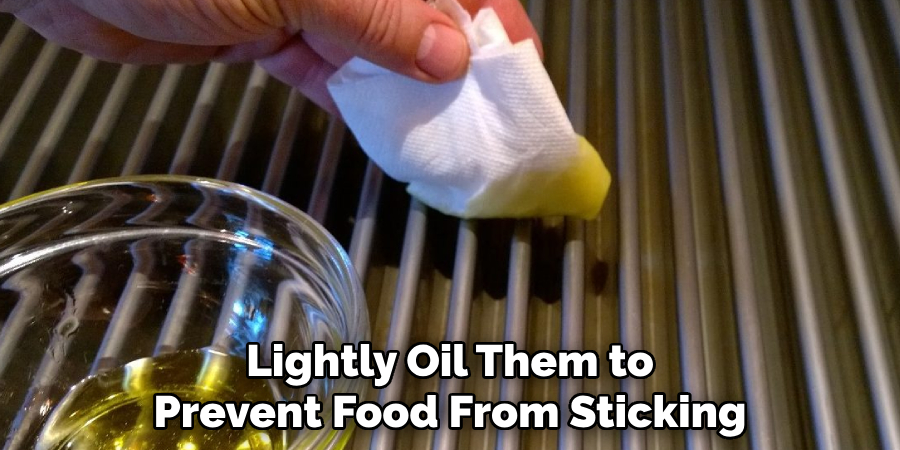
Step 7. Oil the Grates:
After cleaning the grates, lightly oil them to prevent food from sticking during cooking. Use a paper towel dipped in a high-smoke-point oil, such as canola or vegetable oil, and carefully rub it across the hot grates using tongs. Be cautious while applying the oil, as the grill is hot, and avoid using too much oil, which can cause flare-ups. Properly oiled grates ensure a more straightforward cooking process and better results for your food.
Step 8. Preheat the Grill:
Before placing food on the grates, preheat your grill to the desired cooking temperature. Close the lid and allow the grill to heat up for 10-15 minutes. Preheating ensures that the grates are evenly hot, which helps to sear the food properly and prevent sticking. Additionally, it allows for more accurate cooking times and enhances the overall flavor of your dishes. A well-preheated grill is key to achieving perfect cooking results.
Step 9. Prepare the Food:
While the grill is preheating, use this time to prepare your food for cooking. Season meats, fish, or vegetables according to your recipe or preference. If you’re using marinades, ensure the food has had enough time to absorb the flavors, but pat it dry to prevent excess liquid from causing flare-ups on the grill. Proper preparation enhances the taste of your dishes and ensures they cook evenly and safely on the grill.
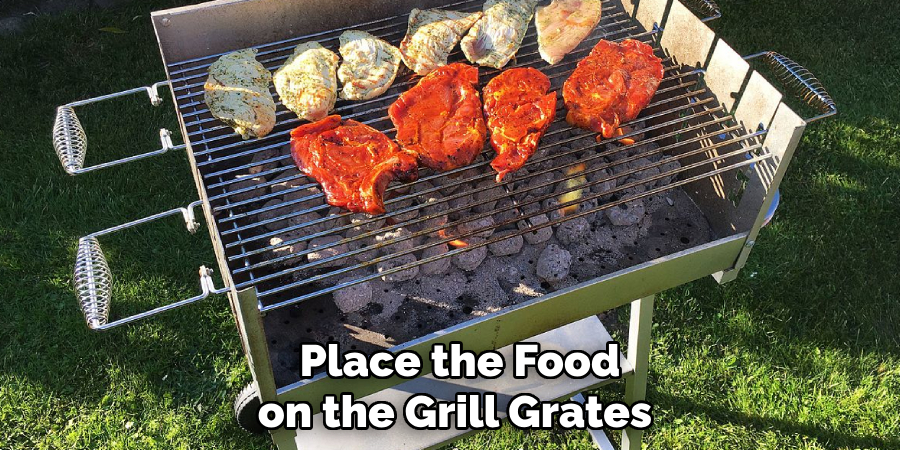
Step 10. Place the Food on the Grill:
Once the grill is preheated correctly and your food is prepared, it’s time to start cooking. Carefully place the food on the grill grates using tongs or a spatula, leaving adequate space between items to allow heat and smoke to circulate evenly. Avoid overcrowding the grill, as this can lead to uneven cooking. Aim to place meats at a slight diagonal to the grates to create appealing grill marks. Close the grill lid to maintain consistent heat and monitor the food as it cooks to prevent burning or overcooking.
By following these steps, you can safely and effectively connect your gas grill and prepare it for cooking.
5 Things You Should Avoid
- Skipping the Leak Test: Never skip performing a leak test on the gas line connection. Even a tiny leak can lead to dangerous situations, including fires or explosions. Use soapy water to check for bubbles around the connections.
- Ignoring the Manufacturer’s Instructions: Always follow the manufacturer’s guidelines for your grill model and gas line. Ignoring these instructions can result in improper installation or void your warranty.
- Using Damaged or Worn Hoses: Avoid using gas lines or hoses that are cracked, worn, or damaged. These can cause leaks or failure under pressure, leading to potential hazards. Inspect all parts before connecting.
- Overtightening Connections: Overtightening the fittings can damage them and compromise the seal. Ensure connections are secure, but do not use excessive force, as this may strip threads or cause deformation.
- Neglecting Proper Ventilation: Never connect a gas line to a grill in an enclosed or poorly ventilated area. Gas buildup can be hazardous and increase the risk of poisoning or fire. Always work in an open, well-ventilated space.
Conclusion
How to connect a gas line to a grill requires careful attention to detail and adherence to safety measures.
You can ensure a secure and leak-free connection by thoroughly inspecting all components, following manufacturer instructions, and avoiding common mistakes such as overtightening or using damaged parts. Always prioritize proper ventilation and perform a final leak test to confirm the setup is safe for use.
Taking these precautions will help guarantee that your grill operates efficiently and safely, allowing you to enjoy worry-free cooking for years.
About the Author
Adrian Green is a passionate woodworking enthusiast who has dedicated his life to the craft of woodworking. From his early days working alongside his father in the family woodworking shop, Adrian has honed his skills and developed a deep love for creating beautiful, functional pieces with his hands. As the voice behind The Woodenify Blog, he shares his knowledge, tips, and inspiration with fellow woodworkers of all skill levels, helping them build confidence in their abilities while learning new techniques.
Professional Focus
- Specializes in DIY woodworking projects, from furniture making to home décor.
- Provides step-by-step guides, tips, and practical tutorials for woodworkers at any skill level.
- Focused on empowering readers with confidence and knowledge through easy-to-follow instructions and hands-on techniques.
- Passionate about building a community where makers can share, learn, and grow together in the world of woodworking.
Education History
University of Craft and Design – Bachelor of Fine Arts (BFA) in Woodworking and Furniture Design
Woodworking Apprenticeships – Gained extensive hands-on experience through various workshops and mentorships with seasoned craftsmen, refining carpentry and furniture-making skills.
Expertise
- DIY woodworking, carpentry, furniture making, and home décor projects.
- Creating clear, accessible tutorials and guides for beginner to advanced woodworkers.
- Helping readers experience the satisfaction and fulfillment of turning raw materials into stunning finished products.