
Are you tired of the annoying popping noise coming from your water heater? Don’t worry, you’re not alone.
A popping noise coming from your water heater can indicate sediment buildup inside the tank. Over time, minerals and debris from the water supply settle at the bottom of the tank, creating a barrier between the heating element and the water. This causes water to get trapped under the sediment, eventually leading to the popping or rumbling sound as it gets heated. Addressing this issue promptly can help improve your water heater’s efficiency, extend its lifespan, and prevent potential damage.
This guide on how to fix popping noise in water heater will walk you through the steps to fix the popping noise and maintain your water heater’s optimal performance.
What Are the Causes of Popping Noise in Water Heaters?
Before we jump into the solutions, let’s first understand the potential causes of a popping noise in your water heater.
- Sediment Buildup: As mentioned earlier, sediment buildup is one of the most common causes of popping noises in water heaters. As minerals and debris accumulate at the bottom of the tank, they create a barrier between the heating element and the water, causing it to get trapped and make noise when heated.
- Thermal Expansion: Another common cause of popping noises is thermal expansion. When the water is heated, it expands and creates pressure inside the tank. If this pressure does not have enough room to grow, it can cause a popping or rumbling sound.
- Loose Heating Element: A loose heating element can also lead to popping noises in your water heater. If the heating element is not securely attached to the tank, it may vibrate when heated, creating noise.
- High Water Pressure: Excessively high water pressure can also cause your water heater to make popping noises. The high pressure puts extra strain on the tank and pipes, leading to vibrations and noises.
What Will You Need?
Before attempting any fix, gather the following tools and materials:
- Screwdriver
- Wrench
- Garden hose
- White vinegar or descaling solution
Once you have these items, you can proceed with the following steps to fix the popping noise in your water heater.
10 Easy Steps on How to Fix Popping Noise in Water Heater
Step 1: Turn Off the Power Supply
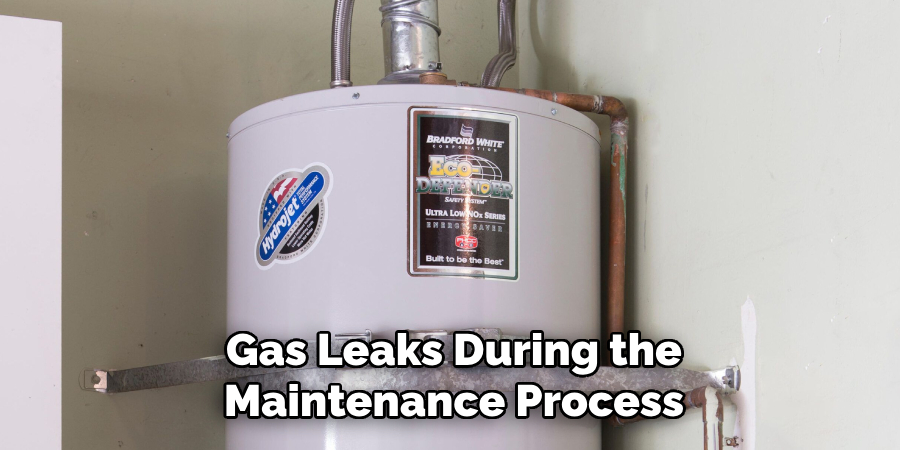
Before you start any maintenance on your water heater, it is crucial to ensure your safety by turning off the power supply. If your water heater is electric, locate your circuit breaker panel and switch off the breaker corresponding to the water heater. Turn the gas valve to the “Off” position for a gas water heater. This step will prevent any accidental shocks or gas leaks during the maintenance process. Double-check to ensure the power is completely off before continuing to the next step. Always prioritize safety when working with electrical or gas appliances.
Step 2: Turn Off the Water Supply
Locate the cold water inlet valve connected to your water heater, usually at the top of the unit. Turn this valve clockwise to shut off the water supply. This step is necessary to prevent water from flowing into the tank while you perform maintenance. Once the valve is fully closed, you can confidently proceed to the next step, knowing that no water will interfere with the process.
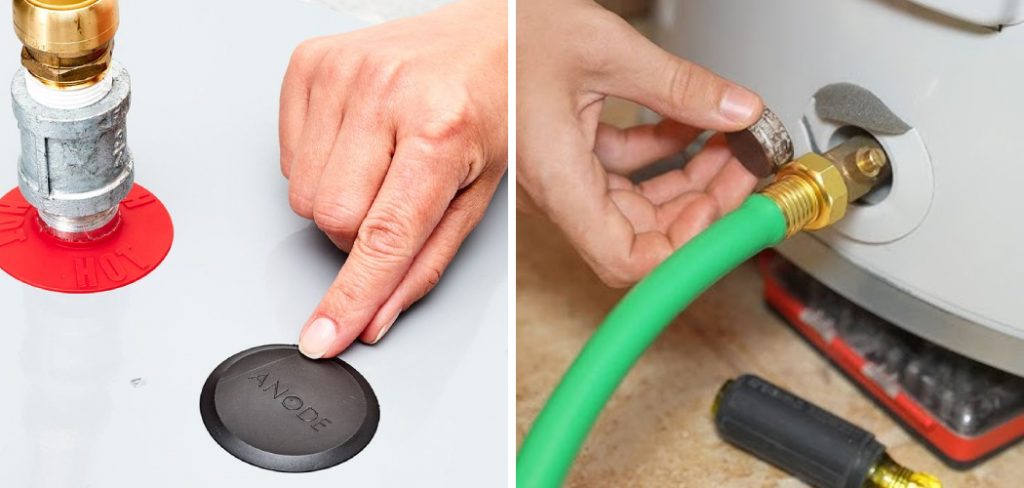
Step 3: Drain the Water Heater
Attach a garden hose to the drain valve near your water heater’s bottom. Direct the other end of the hose to a safe drainage area, such as a floor drain or outside. Open the valve carefully to start draining the tank. To speed up the process, you can open a hot water tap in your home to allow air to enter the system. Be cautious, as the water may still be hot. Once the tank is empty, close the drain valve securely before proceeding to the next step.
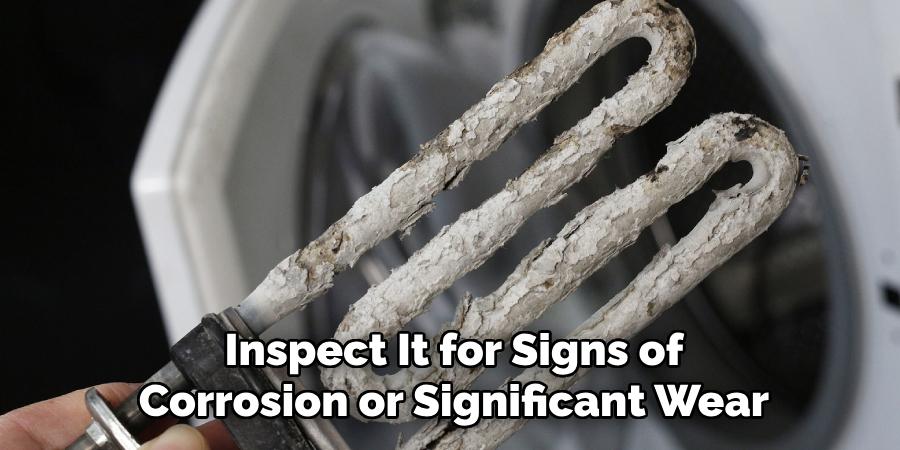
Step 4: Remove and Inspect the Anode Rod
Locate the anode rod on your water heater, typically at the top of the tank. Use a wrench to unscrew and remove the rod carefully. Inspect it for signs of corrosion or significant wear, as the anode rod’s purpose is to prevent rust from forming inside the tank. It should be replaced if the rod appears heavily corroded or worn down to less than ½ inch in diameter.
Step 5: Replace the Anode Rod
If the anode rod requires replacement, purchase a compatible rod based on your water heater model. Insert the new anode rod into the designated opening at the top of the tank and tighten it securely with a wrench. Be careful not to overtighten to avoid damaging the threads. Ensure the rod is properly seated to provide maximum protection against rust and corrosion.
Step 6: Refill the Tank
Close any open faucets and ensure the drain valve is tightly secured. Turn on the cold water supply to the water heater to refill the tank. Allow the tank to fill, which may take several minutes. To eliminate trapped air, open a nearby hot water faucet and let the water flow until it runs smoothly without sputtering. Turn off the hot water faucet once the tank is full and air is purged from the system.
Step 7: Restore Power or Gas Supply
Once the tank is filled with water, restore the power or gas supply to the water heater. For electric water heaters, turn the circuit breaker back on. For gas water heaters, ensure the gas supply valve is open, and relight the pilot light if necessary, following the manufacturer’s instructions. Allow the water heater to heat the water to the desired temperature, and check for any leaks around the connections or fittings.

Step 8: Perform a Final Inspection
After the water heater has heated to the desired temperature, perform a final inspection to ensure everything functions correctly. Check the area around the water heater for any signs of leaks or unusual sounds. To prevent scalding and conserve energy, verify that the thermostat is set to the appropriate temperature, typically recommended at 120°F (49°C). Test the hot water at a faucet to ensure it is running smoothly and heating properly. If everything is in order, your water heater maintenance is complete.
Step 9: Schedule Regular Maintenance
Schedule regular maintenance checks to ensure your water heater operates efficiently and has a long lifespan. Drain and flush the tank at least once a year to remove sediment buildup, which can reduce efficiency and cause damage over time. Inspect the anode rod and replace it if it is excessively corroded, as this component helps prevent tank corrosion. Additionally, check the pressure relief valve, connections, and fittings periodically to ensure they remain in good condition. Regular maintenance will help you avoid costly repairs and ensure a reliable supply of hot water for years to come.
Step 10: Consider Upgrading Your Water Heater
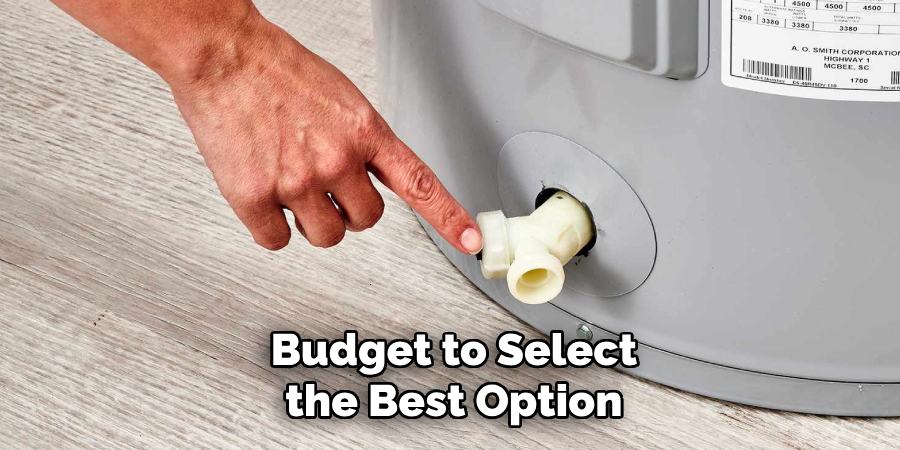
If your water heater is outdated or showing signs of wear despite regular maintenance, consider an upgrade. Modern water heaters, such as tankless or energy-efficient models, offer significant advantages, including reduced energy consumption, longer lifespans, and a continuous hot water supply. Evaluate your household’s hot water needs, energy usage, and budget to select the best option. Consulting a professional can help ensure you choose a water heater that meets your requirements and is appropriately installed for optimal performance.
By following these steps for regular maintenance and considering an upgrade when necessary, you can prolong the lifespan of your water heater and ensure it provides reliable hot water for your household.
5 Things You Should Avoid
- Ignoring Regular Maintenance: Neglecting routine maintenance can cause sediment buildup in the water heater, leading to persistent popping noises. Regularly flushing the tank can prevent this issue.
- Using the Wrong Tools: Attempting to fix the water heater without the appropriate tools can damage the unit. Always use tools designed for plumbing or specific to your water heater model.
- Overlooking Manufacturer Guidelines: Bypassing the manufacturer’s instructions can lead to incorrect fixes and potential safety hazards. Always consult the user manual before attempting repairs.
- Attempting Complex Repairs Without Expertise: Trying to handle advanced repairs without proper knowledge or experience can worsen the problem or void your warranty. Consider consulting a professional when necessary.
- Ignoring Safety Precautions: Failing to turn off the power or gas supply before working on the water heater can result in serious accidents. Always prioritize safety by shutting off the energy source and ensuring the tank is cool.
Conclusion
Regular maintenance is key to effectively addressing the popping noises in your water heater. Flushing the tank periodically to remove sediment buildup is one of the most critical steps.
Additionally, following manufacturer guidelines, using the correct tools, and prioritizing safety precautions will ensure successful maintenance and repairs. If the issue persists or seems too complex, contacting a professional plumber is best to avoid further complications. By staying proactive and attentive, you can extend the lifespan of your water heater and ensure it operates efficiently.
Hopefully, these tips have helped you understand how to fix popping noise in water heater. Remember, proper maintenance and care can prevent costly repairs in the future. Happy repairing!
About the Author
Adrian Green is a passionate woodworking enthusiast who has dedicated his life to the craft of woodworking. From his early days working alongside his father in the family woodworking shop, Adrian has honed his skills and developed a deep love for creating beautiful, functional pieces with his hands. As the voice behind The Woodenify Blog, he shares his knowledge, tips, and inspiration with fellow woodworkers of all skill levels, helping them build confidence in their abilities while learning new techniques.
Professional Focus
- Specializes in DIY woodworking projects, from furniture making to home décor.
- Provides step-by-step guides, tips, and practical tutorials for woodworkers at any skill level.
- Focused on empowering readers with confidence and knowledge through easy-to-follow instructions and hands-on techniques.
- Passionate about building a community where makers can share, learn, and grow together in the world of woodworking.
Education History
University of Craft and Design – Bachelor of Fine Arts (BFA) in Woodworking and Furniture Design
Woodworking Apprenticeships – Gained extensive hands-on experience through various workshops and mentorships with seasoned craftsmen, refining carpentry and furniture-making skills.
Expertise
- DIY woodworking, carpentry, furniture making, and home décor projects.
- Creating clear, accessible tutorials and guides for beginner to advanced woodworkers.
- Helping readers experience the satisfaction and fulfillment of turning raw materials into stunning finished products.